By Linda Loosli
Today I am showing you how to dehydrate watermelon. It is so easy and healthy without any chemicals and preservatives. If you have a bumper crop of watermelon, or have a market close by with some great deals, this is one way to make some easy snacks to eat every day or take hiking and camping without breaking the bank.
Do you sometimes look in the refrigerator and say, “I am not going to be able to eat all that watermelon.” I updated this post today with better images and more information. I wrote the original post back in 2014 and I really wanted to share this one with you again. I love dehydrated watermelon!
Have your dehydrator handy and cut the watermelon into bite-size pieces and start drying them. If the watermelon is sweet, the dehydrated watermelon pieces will be sweet too. Remember you can dehydrate in your oven or on screens in the sun if you don’t have a regular dehydrator. My message today is directed to those who have a dehytrator. Are any of you planting watermelon seeds this year?
This particular watermelon was seedless (you can see the small white seeds). If you dehydrate a regular watermelon with black seeds you will want to remove the seeds before dehydrating. I will only dehydrate a seedless watermelon, I am not removing any seeds. LOL!
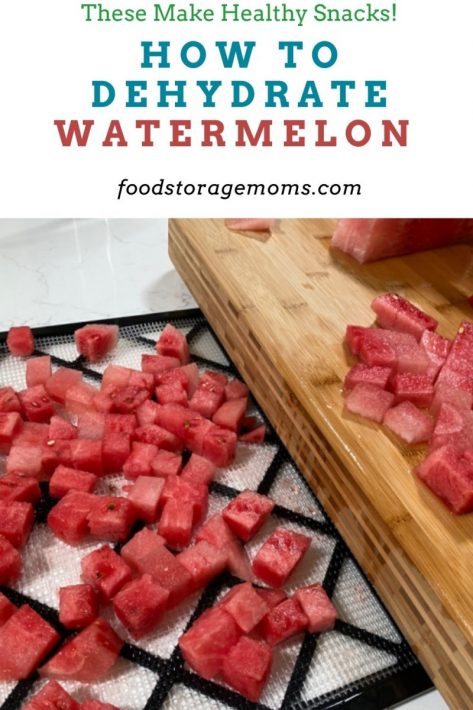
How To Dehydrate Watermelon
Step One
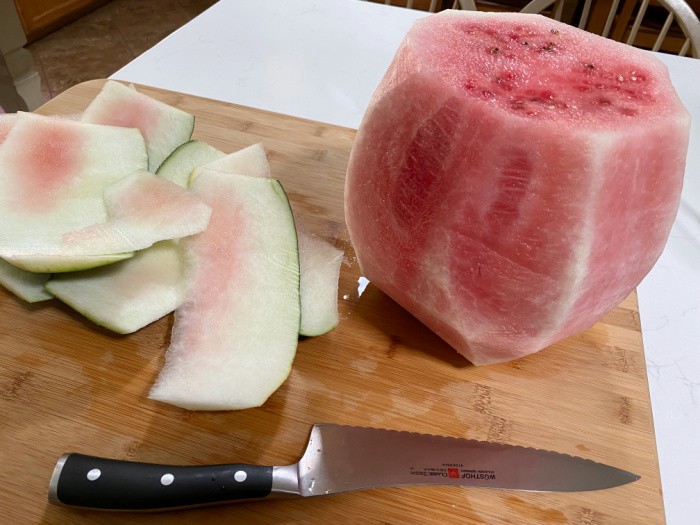
Wash the outside of the watermelon. Cut watermelon and remove the rind. I use a serrated knife to slice through the thick rind. I cut the ends off to make it easier for me to remove the rind. This is a “seedless” watermelon, but they always seem to have seeds.
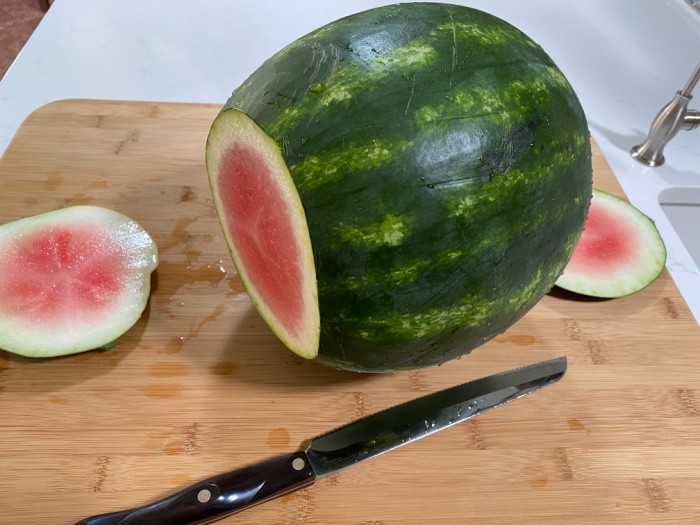
Step Two
After I cut the ends of the watermelon off, it made the watermelon more stable for me to slice through. I started out with my Cutco bread knife and had to switch to another bread knife with a serrated edge.
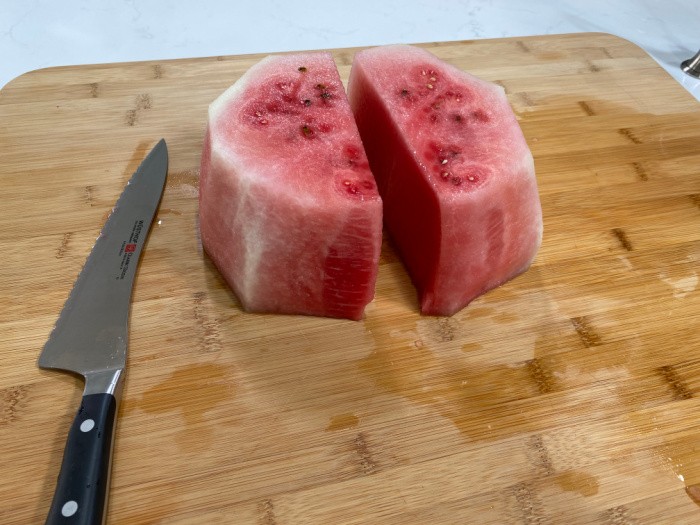
Step Three
The next step is to cut the melon in half.
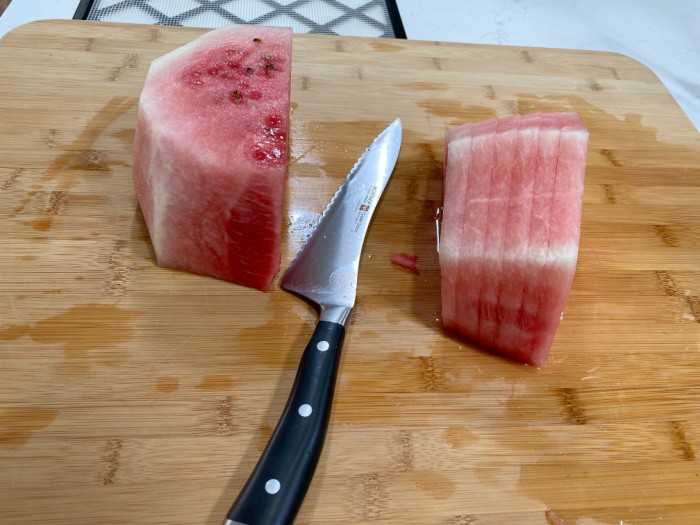
Step Four
Then slice the sections into 1/2-inch slices. I’m making watermelon wedges here to dehydrate.
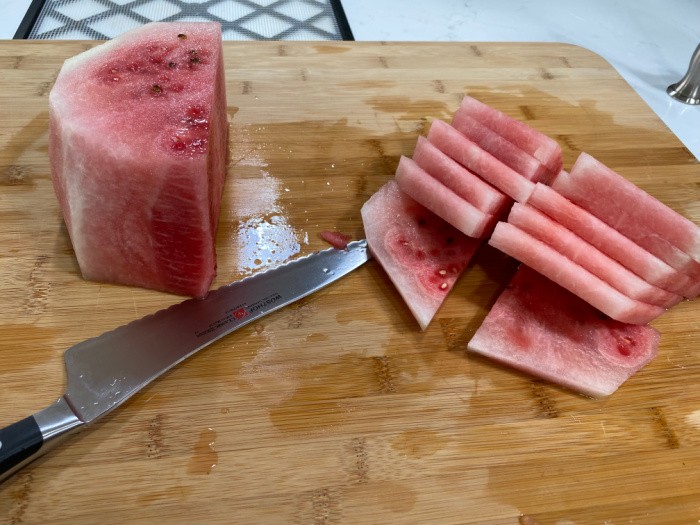
Step Five
Then slice it in half again to make the watermelon slices easier to dehydrate.
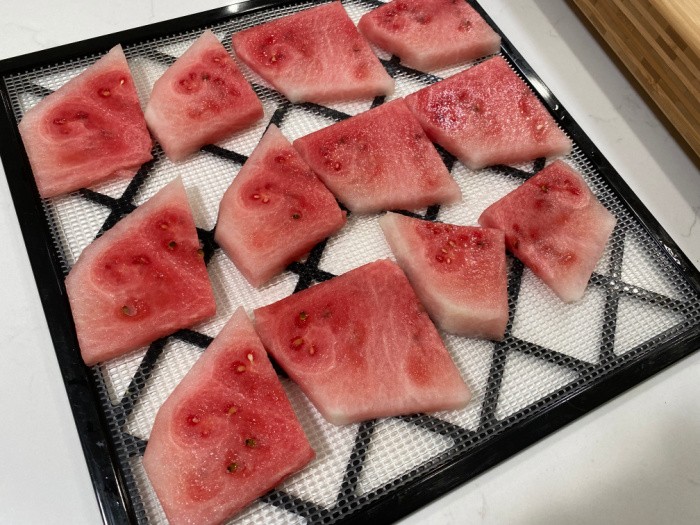
Step Six
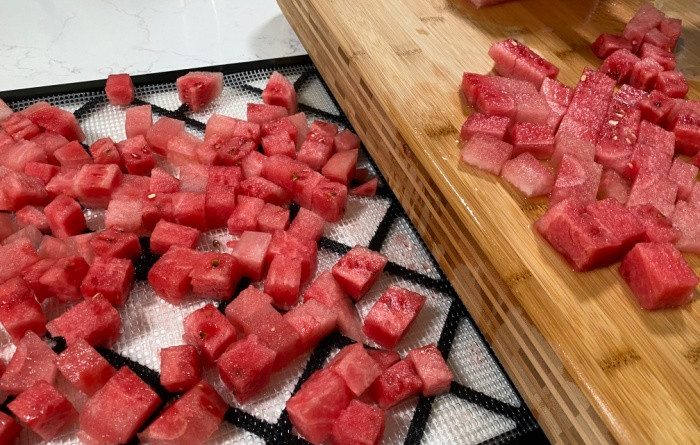
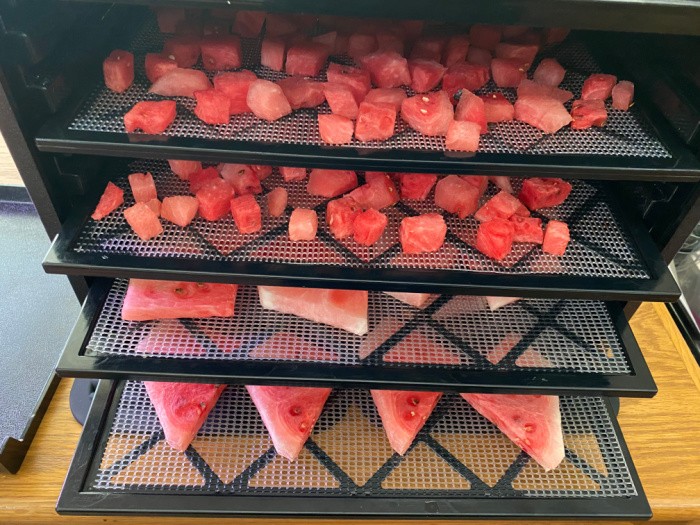
Then place the wedges evenly on the dehydrating racks.
Step Seven
Of course, we all want to dehydrate watermelon into one-inch squares too because they are easy to take backpacking or for everyday snacks.

Step Eight
Place the racks in your dehydrator to start the drying. I have an Excalibur Dehydrator that states 135 degrees is the temperature for my unit when working with this kind of food product. Please check your brand to see what temperature they suggest. The time will always depend on the humidity in the room where you are dehydrating your fruit. Today this batch of watermelon took about 9 hours. No chemicals or preservatives.
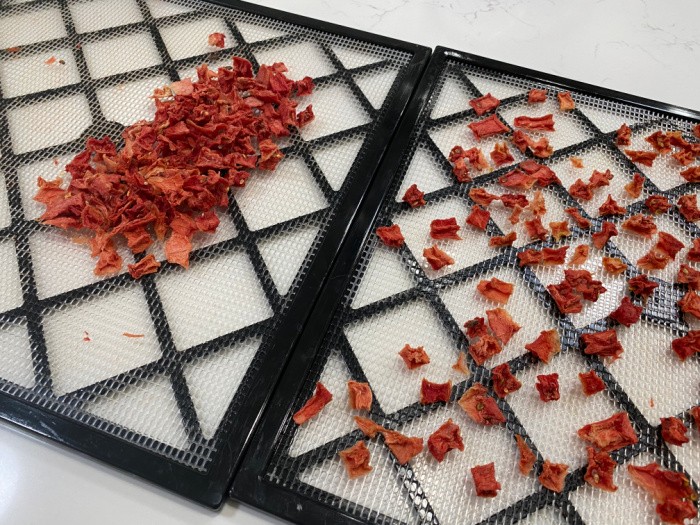
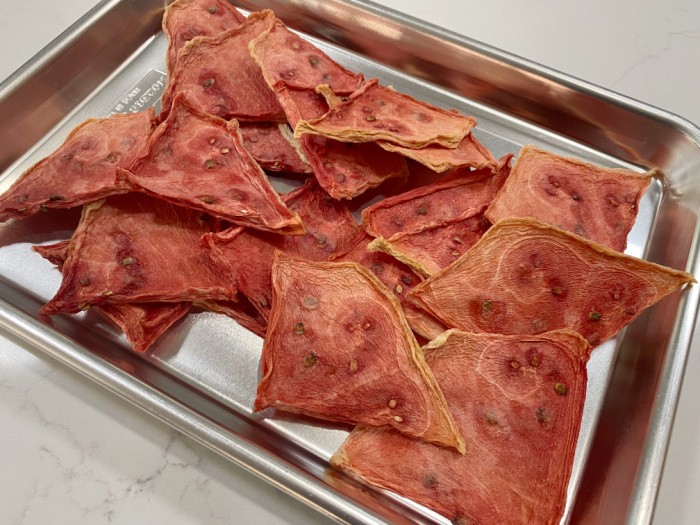
Finished Product: Cubes
These took about 9 hours today.
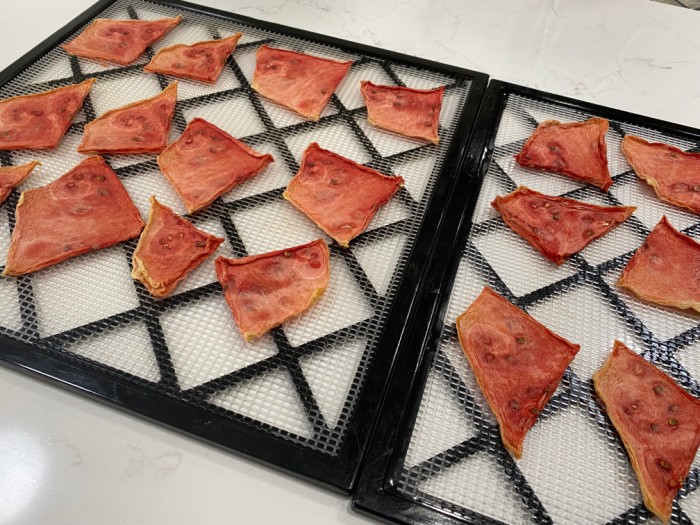
Finished Product-Wedges
These took about 9 hours as well. I dried them at the same time as the cubes, just on different racks.
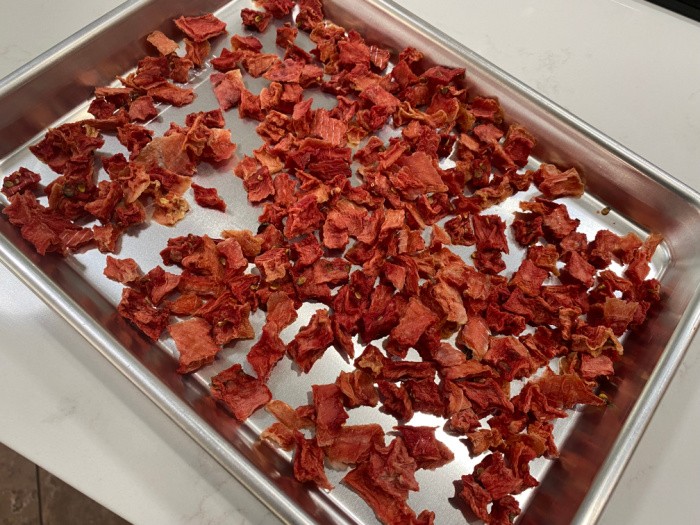
What is conditioning after dehydrating?
This is how I “condition” them. I know they are dehydrated but I want to make sure every single section is totally dry. Yes, they will be pliable and somewhat sticky. They are perfect. I let them sit out for at least a week to complete the conditioning stage.
Read More of My Articles How To Dehydrate Bananas
Conditioning Watermelon Chunks
Conditioning Watermelon Wedges
Can I dehydrate watermelon in my oven?
Yes, you can. Set your oven at the lowest possible setting. Leave the door open slightly with a piece of foil wadded up into a ball. You need air to circulate around the food you are drying. You will need to watch the food closely because it is a little more tricky for the dehydrating time. Place your food on a nonstick tray.
What are the health benefits of watermelon?
Watermelon is a healthy low-calorie snack packed with antioxidants, essential nutrients, vitamins, and minerals. It’s a great fruit for hydrating your body.
How do I store the finished product?
How To Condition Your Fruit or Vegetables
If you live where it is HUMID: “To condition the fruit, take the dried fruit that has cooled and pack it loosely in plastic or glass jars. Seal the containers and let them stand for 7 to 10 days. The excess moisture in some pieces will be absorbed by the drier pieces. Shake the jars daily to separate the pieces and check the moisture condensation.” https://nchfp.uga.edu/how/dry/pack_store.html
I live in the DRY DESERT: I set my fruit and vegetables on my countertop for 5-7 days. Ten days is even better to make sure everything is dry before using your FoodSaver unit.
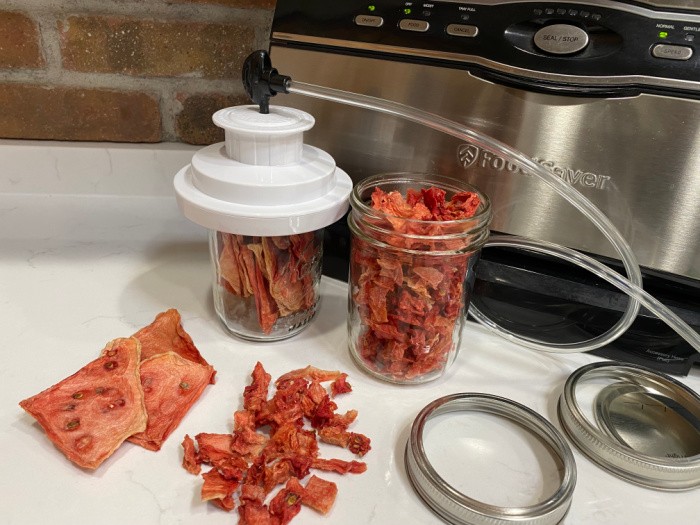
My favorite containers to store these in are wide-mouth quart mason jars. I remove the air with my FoodSaver® Jar Sealer. This FoodSaver® Jar Sealer is built into my unit. This one is also workable for other units, at least the hose anyway. FoodSaver® Jar Sealer The unit must have an accessory hose opening. Please note, I do not use oxygen absorbers, it’s a personal thing. I only dehydrate what I will eat within one year.
No comments:
Post a Comment