by Aden Tate
Proper food storage is essential to proper disaster mitigation. If you’re going to prep, and you’re going to prep right, you need to know what it takes to keep your food good for the long haul. You’ve likely bought and put a few boxes full of MREs (Meals-Ready-To-Eat) down in your food larder at this point. Did you know though that it’s possible to make your own MREs?
Why Make Your Own MREs?
This topic of “how to make your own MRE” is hardly new among hikers and campers. It’s also a common topic among preppers looking to stash quick, long-lasting food. For those of you who may not already know, MREs are handed out in the military and stands for Meal Ready to Eat. MREs have an interesting history. Military MREs come with many different entrees.
By making your own MREs you have an incredibly efficient, pre-planned, and space-conscious means of keeping an entire meal at hand at all times. If you’ve ever done a significant amount of backpacking you’ve likely come to the realization that food ends up taking a lot of space within your pack. Considering that space is already at a premium within a backpacker’s gear, this is unfortunate.
Within prepping, that pack on your back is likely a bug out bag (BOB) backpack. This bag is going to be filled with everything you need to live off of and defend yourself should you need to leave your home as fast as possible. It will contain everything from bug-out specific cookware to fire starters to even bug out guns.
Making your own MREs helps to solve the space dilemma. All of the food that you’ll have within your BOB will be vacuum sealed into a little plastic bag. This will save you a LOT of space. Homemade MREs also improve the convenience of eating while on the move.
Of course, you could go the easy route and just buy a big box of MREs, or you can take the route I’ll describe here and make your own. What you can put into it is limited only by your imagination. The one I put together here is pretty basic, but should give you a good idea of how to go about making your own.
Lastly, sealing food in a bag helps it last much longer. It reduces the presence of oxygen, which can speed up the decomposition process with some foods. By vacuum sealing, you’re going to suck all of the air out of the bag! It won’t make your food last indefinitely, but it will make it last exponentially longer than it otherwise would.
Quick Disclaimer: The homemade MREs within this piece are going to be more along the lines of a “just-add-water” recipes than they are to be a true MRE. If you buy a civilian version of an MRE, you can literally just rip open a package of beef stroganoff and eat it cold right then and there.
The armed forces recognize that not many people want to do this, and as a result, they include what you need to heat up your meal within the MRE as well. Typically, this involves a fuel tab to be used with one’s mess kit while out in the field. For the sake of this article, we’re going to assume that you have a mess kit handy as well when you’re using your MREs.
5 Steps to Making Homemade MREs
This process is probably much easier than you might realize, but (beyond food) you will have a spend invest a small amount of money.
My all-time favorite outdoor recipe list comes from the National Outdoor Leadership School (NOLS). To me, they’re the gold standard when it comes to anything outdoorsy. So, for the homemade MRE I’m going to show you here, I’m going to use NOLS’ Meal-in-a-Mug approach (from NOLS Cookery).
Step 1 – Buy a Vacuum Sealer
The first thing that you have to have is a vacuum sealer and the bags to seal your food in. I bought the Geryon Vacuum Sealer off Amazon. It came with a good number of bags already, so I was all set right out of the box. As mentioned above, this is a necessity if you’re going to make your own MRE. Once you have that, you need some foods and recipes.
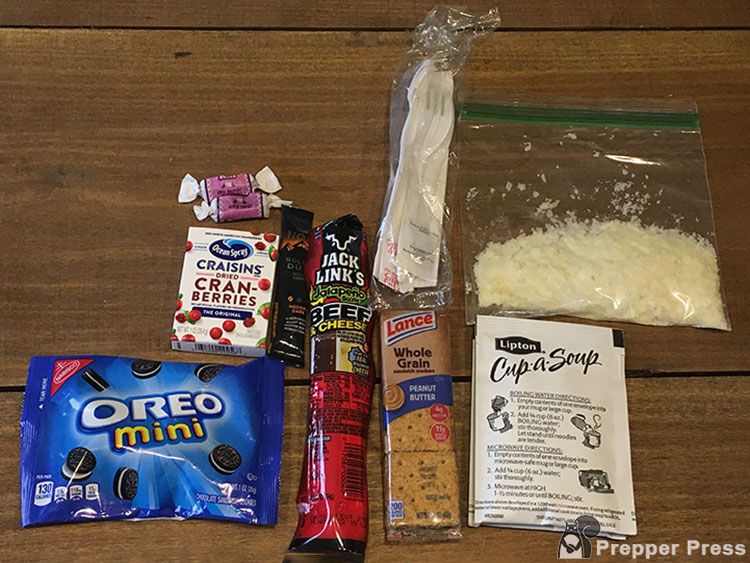
Step 2 – Assemble Your Ingredients or Foods
In this case, again just an example, I’m using:
- 2-3 Tbs potato flakes [80 calories]
- 2 packages of cup-of-soup [100 calories]
- 2 Tbs cubed cheese (I used a beef jerky/cheese combo from a gas station) [140 calories for the pack]
- 2 Tbs cubed meat (This was from that gas station combo)
- 12-16 oz boiling water
All you have to do is empty the cup-of-soup packets into the water and stir. Then stir in the potato flakes until you reach the thickness that you want. After that, dump in the meat, cheese, and whatever other seasonings you want to put in there.
With any of your MREs you’re going to want to print or write out the recipe for the main course on a little piece of paper, and then include that in the MRE packaging. This will save you a lot of guesswork in the future.
Other Items I Included
- Pre-packaged mini Oreos (130 calories)
- A little box of Craisins (90 calories)
- Peanut butter cracker pack (200 calories)
- One instant coffee packet
- Two tootsie rolls (51 calories)
- Pre-packaged plastic silverware and napkin from a prior fast food meal.
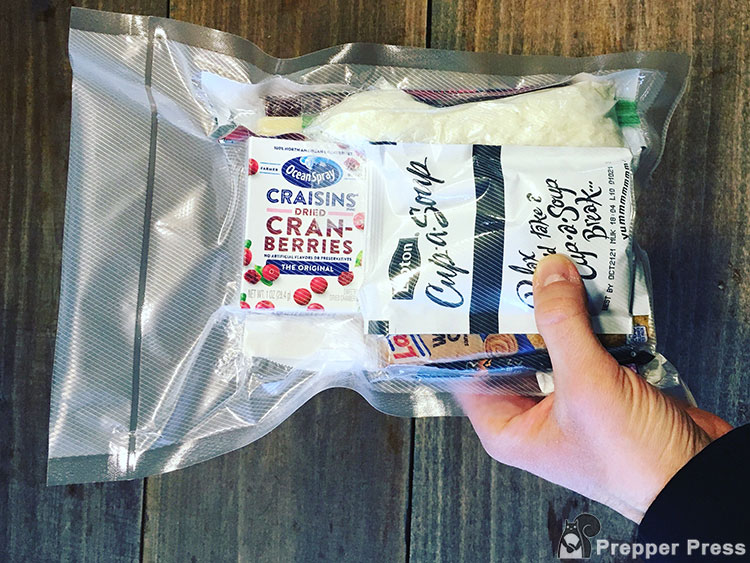
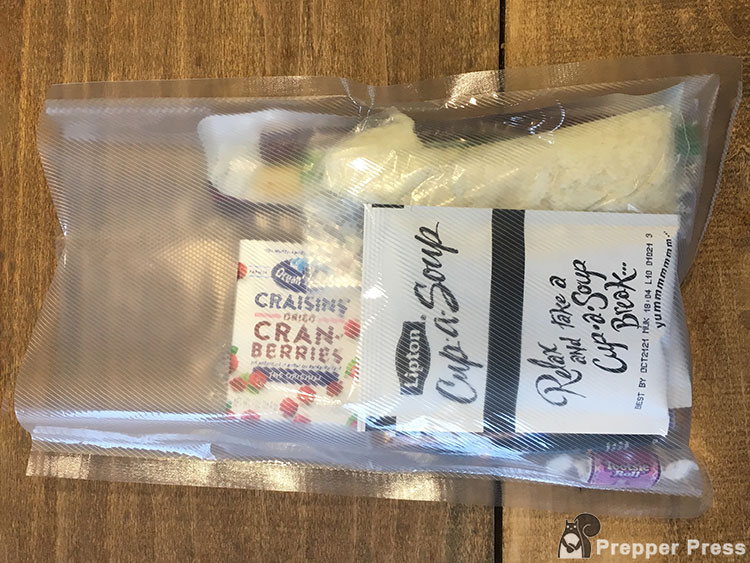
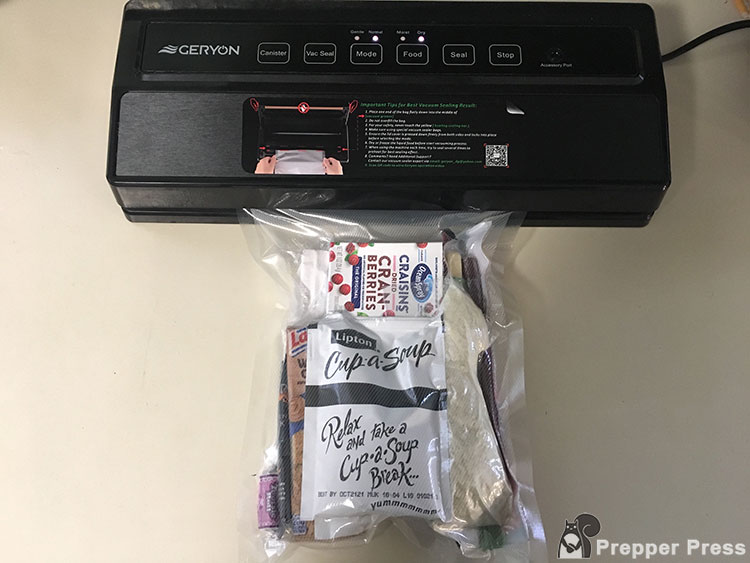
Step 3 – Pack it All in a Vacuum Seal Bag
Once you have everything laid out, you can put it in a vacuum seal bag.
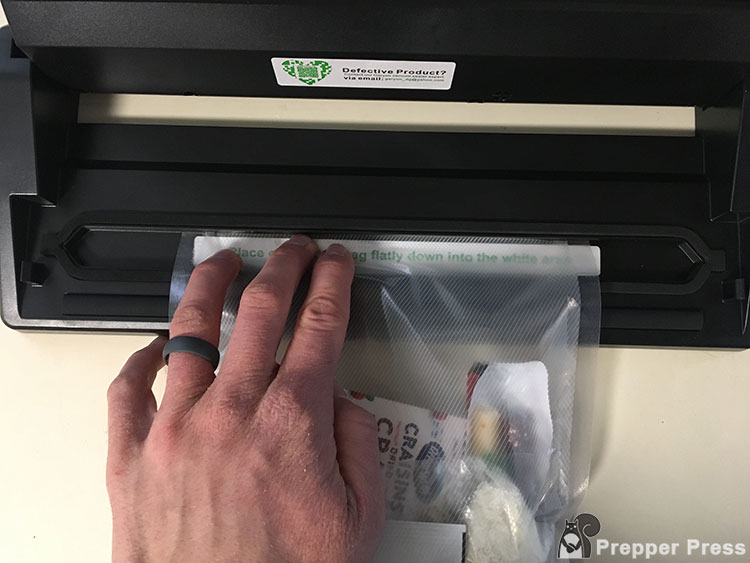
Step 4 – Suck Out the Air with a Vacuum Sealer
Once all of the items were in the bag, all you have to do is…
- Place the open end in the designated slot on your vacuum sealer.
- Hit the vacuum button until there is no air left.
- Hit the seal button.
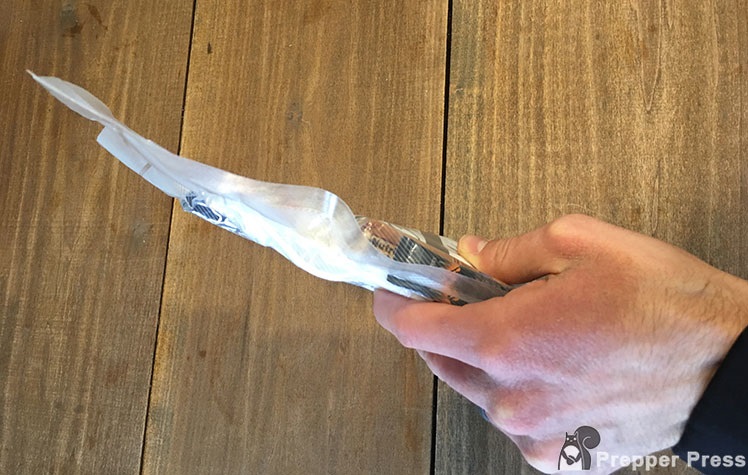
Once you have everything assembled it literally just takes minutes to prepare a bunch of meals for later use.
And voila – your own homemade MRE! The one I made here is around 791 calories. So that’s a bit less than a typical military MRE, but I’m happy with the amount that’s in there.
Step 5 – Label Everything
The last thing I do is put a date on the package so I’ll know what date they were prepared on. I usually give them a two year expiration although I’m pretty sure they’d be good for a long time after that.
With any MRE that you make, the shelf-life is only going to be as good as the weakest ingredient. So for my meal-in-a-mug example above, the cheese stick/jerky combo is going to be my weak link. That will easily go bad before anything else within that MRE. Thankfully, those ingredients are in their own packaging, so if they did go goopy, they wouldn’t ruin the rest of the meal.
While your food will last longer stored in a vacuum sealed bag than it would if it were just left in its original container, still keep basic food safety principles in mind. If it doesn’t look, smell, or taste right, don’t eat it. Also remember that storing your food in incredibly hot areas will lead to much quicker degradation than food that’s stored at cooler temperatures.
If you keep these basic principles in mind however, you can potentially save yourself hundreds of dollars, and a lot of space on your families’ emergency food storage. So let us know what you think in the comments below! Have you made your own MREs in the past? Are there other factors that you think we should have discussed? Keep us posted! And don’t forget to check out some of our other great articles that we have on the subject of food storage as well!
Final Food for Thought
Other ideas I’ve had for these were to put in tuna packs, nuts, prepackaged rice meals, a single serving of Gatorade or something along those lines. I’ve also taken nuts and/or GORP and divided them out into baggies and put those in the meal. I figured with the air removed they’d stay fresh for a long time even after they’ve been removed from the original packaging.
In another article about the Coffee Can Survival Kit there was some terrific feedback from you readers, so I thought I’d push my luck and see what you would put in your MREs. Be creative, but keep in mind you’ll have to carry these meals when you’re hiking or bugging out, so you’ll want to keep them somewhat light.
So here’s my question: What would you put in your MREs?
No comments:
Post a Comment