by
So the fateful day comes, and you are finally facing a true, prolonged SHTF situation. This is it, the big one.
There’s just one problem: your bug-out bag, despite all of its better properties, is an entirely unsuitable bright and cheery color, one that is liable to attract attention, and get you spotted and subsequently shaken down for its contents. That is a bad move no matter how you slice it.
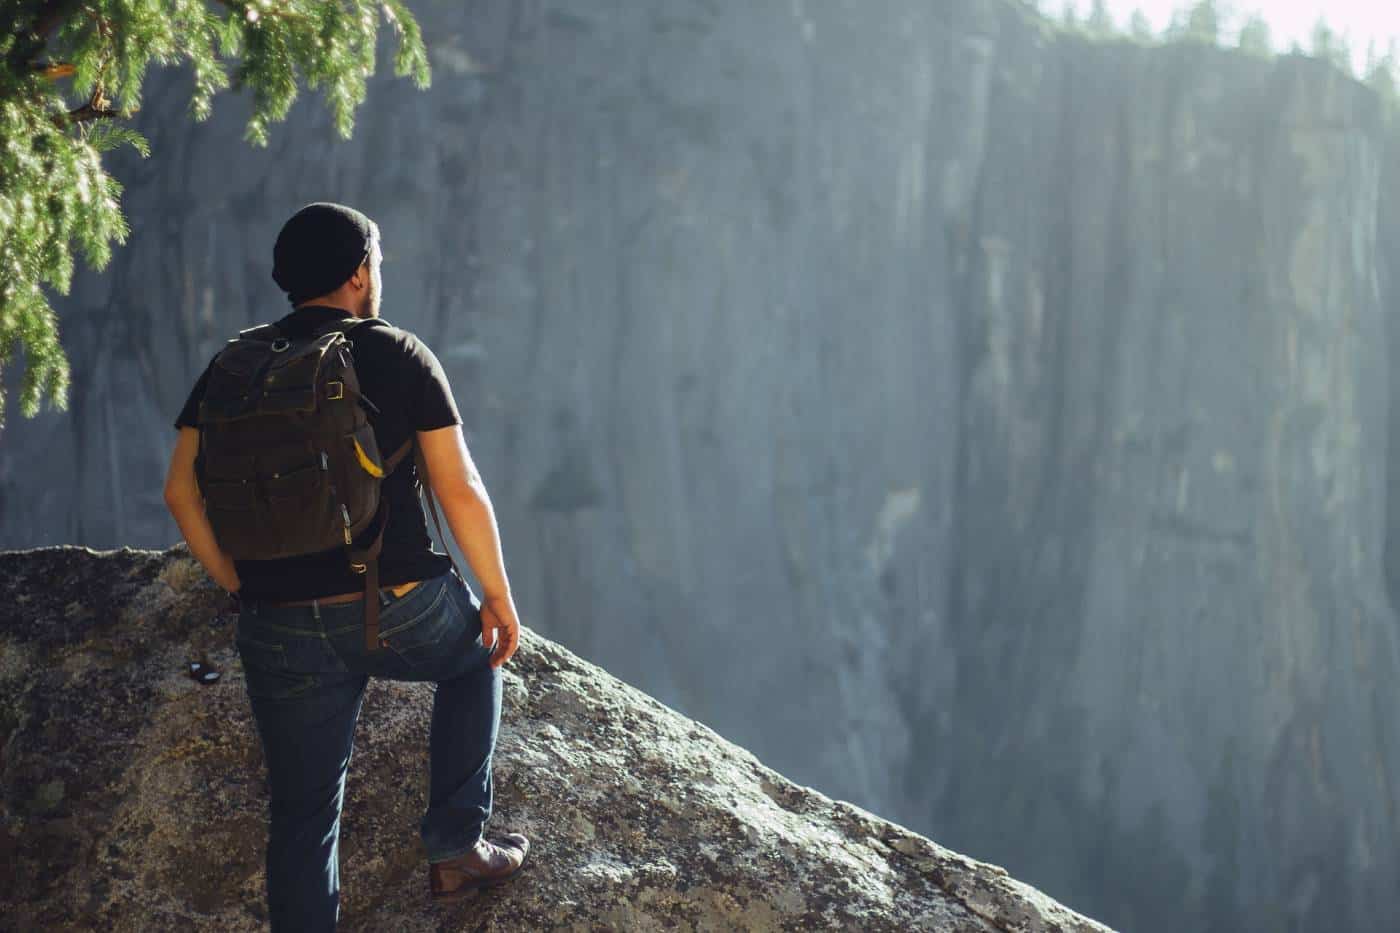
Lucky for you, you don’t have to be stuck with a high-visibility pack when the time comes to go seriously low profile. With just a few supplies, and a little bit of time and ingenuity you can dye your backpack a color that is more discreet and suitable for a camouflage base.
Nearly any backpack can be dyed, and if you take a little care in the process it doesn’t even have to be that messy.
The skills you learn for dyeing your backpack can also apply to many other garments and pieces of equipment, making this a simple skill that can serve you well for life.
In today’s article I will show you a couple of different methods for dyeing your pack, be it a bug out bag, get home bag, or any other kind of backpack.
Why Dye?
The most obvious reason to dye a light-colored backpack or any other piece of gear is too darken it order to improve concealment and reduce observability.
Bright, eye-catching colors are not going to help you stay hidden in any environment, unless you are carrying your backpack in a permissive, public setting where military patterns, colors and appearance is what will draw the attention.
I’m talking about a scenario where you are generally trying to avoid being noticed or spotted by anyone that is not part of your family or group.
When the balloon goes up, everybody puts their chips on the table, and strangers become unknown contacts, and that’s dangerous. Remaining hidden can be paramount, as the fight that you avoid is always one that you win.
You might think that dyeing sounds labor-intensive, messy, difficult and generally not worth the effort compared to just throwing a camouflage wrap or rain fly on your pack, but you should not count out this technique:
Dyeing any fabric is pretty much permanent, compared to a cover or wrap they can become lost or torn and compromise your concealment.
Compared to lesser coatings and colorings like paint, dye will not lose its coloring or wear away requiring reapplication except over a very long period of time.
Nothing short of a lot of time in the sun or straight bleach will damage dye, meaning you can count on your new color to stand up to bad weather and rough handling with no concerns of exposing you.
What Do I Need to Know?
There are a few material and condition factors that you need to keep in mind before you dive into dyeing your backpack. Both will affect your approach as well as the supplies needed and how long the process will take.
Only in very few circumstances though will you be unable to dye your backpack and I will address those below.
Material
Generally speaking, you’ll need to ascertain what material or materials your backpack is made of in order to select the right dye and use the right procedures.
The precise formula and steps you need to take depends on what product you are using and what the manufacturer recommends, but broadly speaking, when you are dyeing a natural fabric backpack, or one made with predominantly natural fabrics like cotton, canvas and wool you will use a dye suitable for those fabrics.
If you are dyeing a backpack that is made predominantly with synthetic fiber like nylon, polyester and derivatives you will need to use a dye that is specific for synthetic fiber, and typically take a few extra steps during the dyeing process to ensure that these tougher fibers can absorb the pigments.
One potentially tricky situation you might run into is finding out that your backpack uses a significant mixture of fabrics, something like half all natural cotton and half nylon, for instance.
In that case, there is no need to attempt dyeing only the specific parts of the backpack; that is a recipe for tears and misery! Instead, just remember the simple rule that when the pack is predominately synthetic fiber you use a dye that is specific for synthetics. That’s it!
Color
Your backpack’s existing color will dictate what colors are available to you for dyeing, as well as how well the dye job will work. A white backpack will accept any color with a high level of fidelity.
But assuming you do not have a white backpack, light earth tones or tans and light, pale and pastel primary colors will take dye better than darker colors.
As a general rule, if you already have a very dark color your dye will only succeed in tinting the pack a different color or shading it and making it even darker.
Also you’ll need to learn a little bit of color theory: If you start out with a blue backpack and try to dye it yellow, you will end up with some shade of green, not a yellow backpack at the end.
This is not something you need to be too concerned about, since your primary objective should be just to take a light or brightly colored backpack down to a darker shade that is easier to hide and camouflage in general.
Pretty much no matter where you are on the color wheel. With a little bit of ingenuity and research you can come up with a recipe that will get you an acceptable dark color.
Dirt
Dirty, greasy, grimy backpacks will not accept dye very well, leaving the finished product splotchy and not in a good way.
It is entirely possible that an old and nasty backpack can come out looking more like a cow or a tie-dye job with your original bright color poking through the darker areas. Theoretically this could give your camouflage more depth, but it is far more likely that is going to be a dead giveaway.
If you want to ensure that your dye job is uniform and penetrates the fabric all over, you need to make sure your backpack is free of grime and dirt. Give you a pack a good washing and scrubbing according to what kind of material it is made of before you get into dyeing it.
Damage and Wear
Curiously, very old backpacks or ones that have spent a lot of time in the sun or had an unfortunate run-in with peroxide, bleach or some other color dissolving agent will rarely take up dyes in the future with any sort of efficacy. Something is happening either on a microscopic structural level when your backpack gets mistreated so from a long life of use that prevents this from happening.
This can be disappointing if you have an old and sun-bleached pack that is otherwise fit for service and you want to repurpose it as a bug-out bag with a darker color, only to find after going through all the rigmarole and steps required to dye it did it has barely tinted the base fabric.
Generally speaking, if you have a pack that is so old it has lost much of its color all over, especially one that has been used and conditions of intense sunlight, don’t expect your dye job to make it look like new.
So with all of that understood, you’ll need to determine what materials make up your backpack, get it reasonably clean and be sure it is not so old, sun-bleached and worn that the dye has no chance of being absorbed into the fabric. Pretty straightforward, and once you have done that we are ready to get started!
Preparations
Prep Work Area
Make sure you are performing this dyeing operation in an area that will not be affected by spills and stains. If that is not possible, make sure you put down a heavy plastic drop cloth that will prevent the dye from contacting any surface you don’t want to get stained.
For obvious reasons, dye is a ferocious staining agent that you will have a doozy of a time trying to get out once it has made contact. Neither the author nor this website will be responsible for any divorces that arise from following these instructions. You have been warned!
Don Protective Apparel
You’ll be working with a powerful dye and also hot water. Heavy-duty rubber gloves with gauntlets are a good idea, as is a rubberized lab apron. Don’t wear anything that you cannot stand to see ruined when you are undertaking this task.
Dyeing Your Backpack – Natural Fibers and Majority Natural Fiber Blends (Less Than 35% Synthetic)
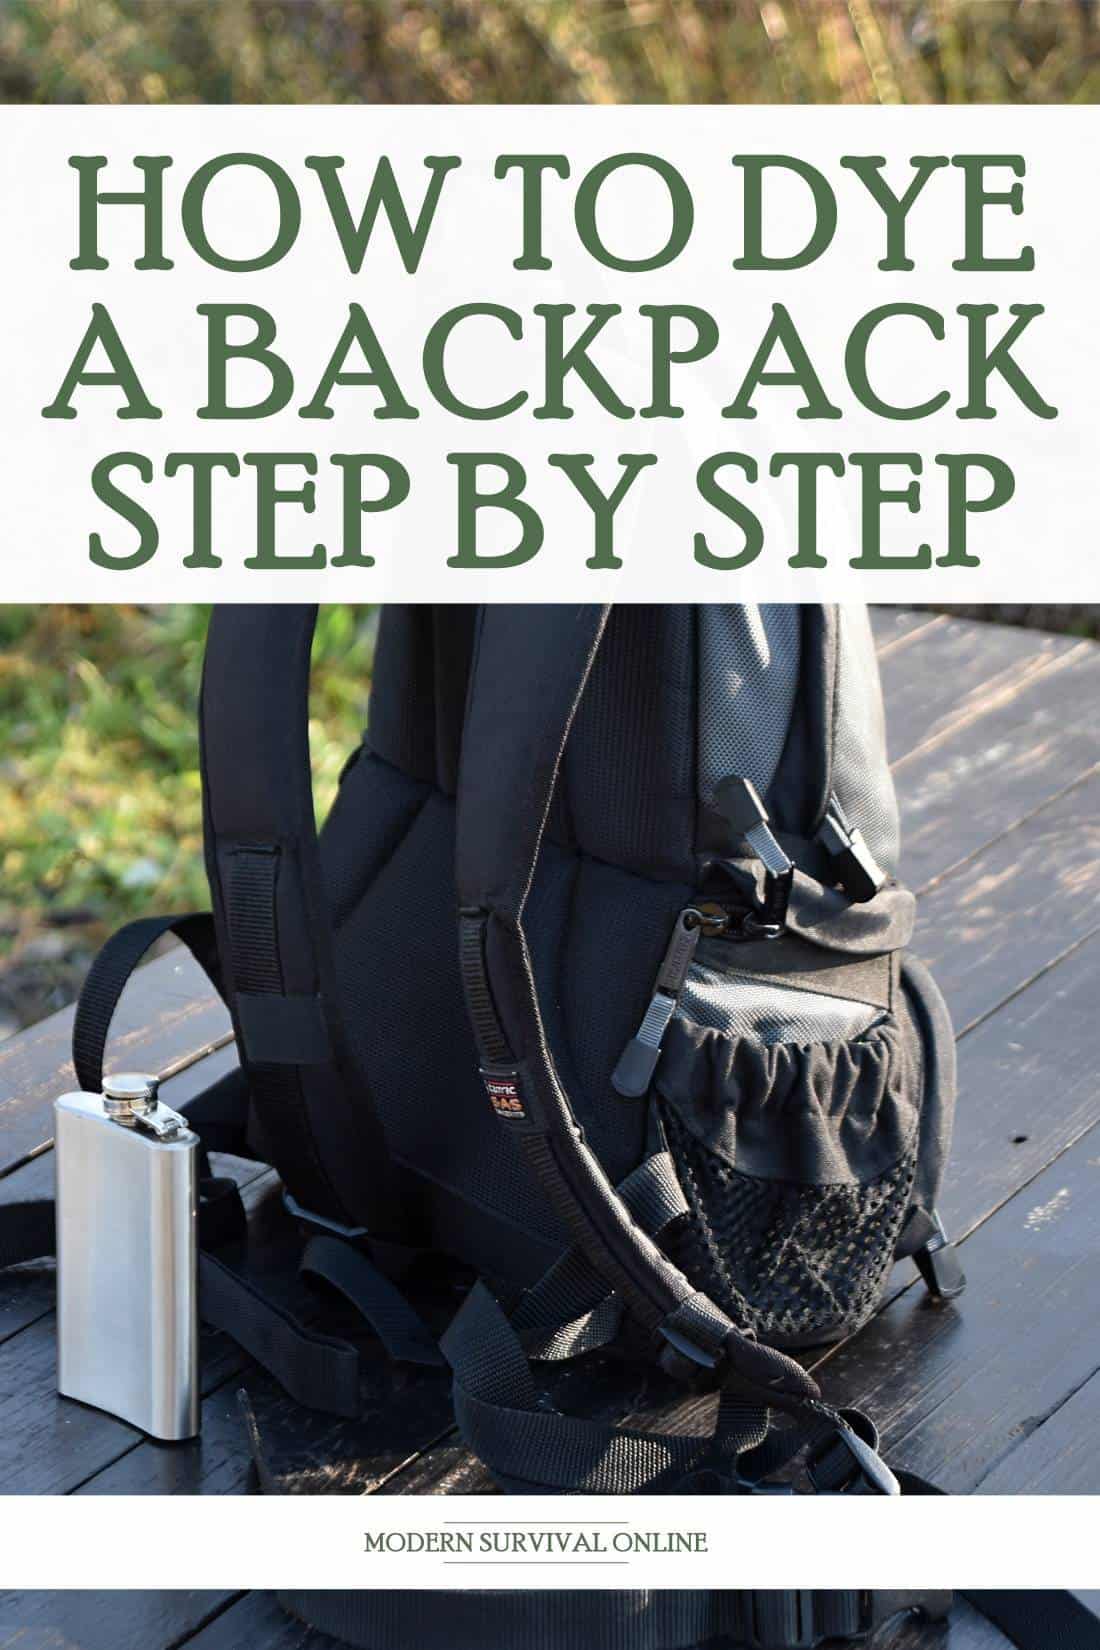
When I am dyeing anything I typically use Rit brand dye. It is affordable, effective, and available absolutely everywhere so you have a great chance of coming up with it in quantity no matter where you are.
Do note that Rit makes several product lines that are specific for natural fibers, which is a general purpose dye, and synthetic fibers, which you will need if your backpack is predominately nylon or some other man-made material.
The first set of instructions below assumes that you have a predominantly natural fiber backpack, and the appropriate dye.
Step #1. Determine Weight of Pack
Before you break out the rubber gloves you’ll need to weigh your pack. The weight of the pack determines how much dye you will need to do a good job. In general, one small bottle of dye or too small packets of powdered pigment will be needed for every 2 lb. that your pack weighs.
If you plan ahead and know you want to take your item from very light to very dark, go ahead and double the amount of dye that you use.
Step #2. Locate Container
To complete the dyeing operation you will want to use a large plastic or stainless steel vessel that is big enough to allow your unzipped pack to float freely in it. If you have to scrunch up or roll the pack to fit inside your container, your container is too small.
Note that while most fabric dyes will not stain steel containers, plastic is another story. If you are using a plastic container, make sure you’re okay with it taking on a new color or be prepared to throw it out when you are done.
Step #3. Fill Container with Water
A general guideline for the amount of water you should use is approximately 3 gallons for every pound that your item weighs. Your water needs to be hot: around 140 degrees Fahrenheit (60 Celsius).
Step #4. Add Salt
Salt serves as a color enhancer when you are dyeing natural fabrics, or predominately natural fabric blends. Add approximately 16 tablespoons of common salt; that is 250 grams.
Step #5. Add Detergent
A little bit of common dish detergent will help ensure that the dye binds evenly with your pack’s fabric. A single teaspoon of detergent is all that is required regardless of how much water you are using.
Step #6. Stir
Give your water with the additives a good stirring until everything is well blended.
Step #7. Add Dye
If using liquid dye, shake the ever-loving daylights out of the bottle before adding the prescribed amount that we determined above. If using powdered dye, dissolve it separately in pure water according to the package directions before adding it to the main bath.
Step #8. Stir
Give it all a stir again until everything is completely blended. Double-check to make sure you don’t see any clumps of powder dye floating in your solution.
Step #9. Wet Your Pack Separately, and Add to Dye Bath
Thoroughly soak your backpack separately with clean water prior to adding it to the dye solution.
Make sure that all buckles are unbuckled and compartments are open to allow full permeation of the dye. Remember, you want it to be floating as free as possible inside your container.
Step #10. Stir Pack
You will need to stir your pack constantly and slowly for at least 10 minutes to ensure even penetration and coverage of the dye. Ensuring full color penetration can take anywhere from 10 minutes to about an hour, although 30 minutes is the average.
You need to be stirring the entire time. You can pull out the pack with tongs or your gloved hand, and check it periodically for saturation, keeping in mind that a wet pack will appear darker than a dry one.
Step #11. Remove Pack
Once you have attained the desired color, remove your pack from the dye solution, and wring it out. Take care, as this part gets messy.
Step #12. (Optional) Use Color Fixative
At this point you may dunk the pack in a separate container full of color fixative solution that you have prepared according to the package directions. It will need to be stirred again for a period of time, but not as long as it did when it was in the dye.
Step #13. Rinse and Wash
Once you’ve completed all the previous steps, it’s time to rinse the pack thoroughly and completely in cool water until the rinse water comes out completely clear.
With that finished, all that is left to do is give you a pack a wash using mild detergent according to the manufacturer’s instructions.
Not too difficult. If you have a pack that is made completely from synthetic materials or is a majority synthetic fabric blend, you’ll need to follow the set of instructions below which are trickier than the ones for natural fibers since they mandate the use of far hotter water that you’ll have to keep near boiling for the entire process.
Dying Your Backpack – Synthetic Fibers and Majority Synthetic Fiber Blends (More Than 35% Synthetic)
Step #1. Determine Weight of Pack
Before you break out the rubber gloves you’ll need to weigh your pack. The weight of the pack determines how much dye you will need to do a good job.
In general, one small bottle of synthetic-specific dye will be needed for every 2 lb that your pack weighs. A pure polyester pack will need more.
Step #2. Locate Container
Dyeing synthetic fibers is not as straightforward as dyeing natural fibers. You’ll have to apply high heat the entire time, and that means a metal container is mandatory as well as something to heat it with.
If you have a smaller pack it is conceivably possible that you might accomplish this on your stovetop, but most stoves will struggle to heat a large enough vessel that can hold a full-size backpack.
An outdoor grill with a large burner box is ideal for the task, or a separate propane-powered utility burner apparatus that can be set on the ground.
Step #3. Fill Container with Water
A general guideline for the amount of water you should use is approximately 3 gallons for every pound that your item weighs. Your water must be heated to and maintained at a temperature of around 200 degrees Fahrenheit (93 Celsius) for the duration of the dye procedure. Use a thermometer to establish and monitor the temperature as you go on.
Step #4. Add Vinegar
Vinegar serves as a color enhancer when you are dyeing synthetic fabrics, or predominately synthetic fabric blends. Add approximately 6 ½ ounces of common vinegar.
Step #5. Add Detergent
A little bit of common dish detergent will help ensure that the dye binds evenly with your pack’s fabric. A single teaspoon of detergent is all that is required regardless of how much water you are using.
Step #6. Stir
Give your water with the additives a good stirring until everything is well blended.
Step #7. Add Dye
Ensure that any liquid synthetic specific dye is extremely well shaken before adding it to the simmering water.
Step #8. Stir
Give it all a stir again until everything is completely blended.
Step #9. Wet Your Pack Separately and Add to Dye Bath
Thoroughly soak your backpack separately with clean, warm water prior to adding it to the dye solution. Make sure that all buckles are unbuckled and compartments are open to allow full permeation of the dye. Remember, you want it to be floating as free as possible inside your container.
Step #10. Stir Pack
You will need to stir your pack constantly and slowly for at least 10 minutes to ensure even penetration and coverage of the dye. Ensuring full color penetration can take anywhere from 10 minutes to about to half an hour, although 30 minutes will typically only be required for high polyester content blends.
Nylons dye very rapidly. You can pull out the pack carefully with tongs to check it periodically for saturation, keeping in mind that a wet pack will appear darker than a dry one.
Step #11. Remove Pack
Once you have attained the desired color, cautiously remove your pack from the dye solution and wring it out- water will be very hot!
Step #12. (Optional) Use Color Fixative
At this point you may dunk the pack in a separate container full of color fixative solution that you have prepared according to the package directions.
Ensure that this water is very warm so you do not shock the fibers with a rapid temperature change. This can make your fibers brittle and vulnerable to damage or even crack plastic buckles.
Step #13. Rinse and Wash
Once you’ve completed all the previous steps, it’s time to rinse the pack thoroughly, and completely in warm water until it comes out completely clear. After that, turn the water temperature down to tepid or slightly cool and repeat, decreasing that temperature at the end of every cycle until it runs clear again.
Once your rinse water comes out completely clean with cold water, you are ready to wash your pack with mild detergent according to the manufacturer’s instructions, then you’re all done!
Conclusion
With just a little bit of setup and preparation it is entirely possible to take a serviceable, favorite pack that just so happens to be a little too garish in color, and tone it way down using fabric dye, getting it ready for camouflaging, or just making a little less noticeable when the time comes to bug-out.
The skills you learn dyeing your backpack can also be used to dye all kinds of other fabric items also, and this is one skill that can serve you well on your journey as a prepper.
No comments:
Post a Comment